On New Year’s day, 2020, Bron and I undertook to put together the above routes into a big day of climbing to cap our Costa Blanca winter climbing trip. We’d spent most of our holiday projecting hard single pitch sport climbs so were keen to have a big enjoyable day out and really get somewhere high. In doing my usual pre-multipitch research, I noticed that the 2013 Rockfax guidebook no longer included a description of the Edward’s Finish, and that good beta on the descent seemed to be spread over several UKC comments from which it was a little taxing to get a coherent picture. I thought it might be useful to compile info on the Edward’s Finish and descent into one place so future climbers wouldn’t have to spend as much time scrolling as I had. Accordingly, I briefly describe our day, and then give my best attempt at a route and descent description with pictures designed to aid route finding. Hope it’s enjoyable and useful!
The climbs
The Puig Campana is an amazing multi facetted limestone formation which rises to approximately 1400m above the town of Finestrat in the heart of the Costa Blanca. Most of the climbing seems to be of euro-limestone trad character, with some self-placed protection supplemented by a healthy mix of scattered bolts and old pitons. Great stuff!
The most classic route on the South Face is the Espolón Central which climbs most of the way up the central buttress of the South Face before allowing those climbers so inclined to descend right across a series of low-angle shoulders protected by via-ferrata-esque cables (see topo). Grades are amenable (F4+) and the climbing spectacular.
After the Espolón Central, adventurous souls can continue up the Edward’s FInish (F4), which combines some long ridge scrambling sections with a few pitches of moderately graded climbing to reach the South Westernmost of the three distinct summits of the Puig Campana (see map). The character of the climbing is looser and worse than the Espolón Central, but it’s still fun and nice to get to something like a summit.
To the climbers right of the Espolón Central, a number of much harder routes climb the Julia Pillar. Any of these can be linked with the Espolón Central, joining it at about the 7th pitch. Of these we chose the Via Julia (F6a) which climbs the pilar directly up a set of distinct crack and corner features. Climbing is spectacular and highly recommended. For those brits on UKC tempted to translate French sport grades back into their familiar adjectival system, please stop. The climbing is so different in character than most English trad climbs as to make the comparison useless: the climbing feels like semi-trad protected F6a (5.10a/b), not “stiff E1.” Anyway…
We used the Rockfax book and app descriptions for the Via Julia and Espolón Central, and found them to be correct. The climbs are so well-travelled anyway; just follow the chalk and white pro scratches in the cracks.
We climbed on a 1.5 set of cams doubled on greed, red, and yellow; a single set of nuts; a few small cams; some slings; 10 draws; and a couple of micro-tractions to protect any simul cruxes. We found this to be plenty.
Via Julia + Espolón Central
We got up at 7:30ish and were on the approach trail by 8:30 or so. After an hour huffing up the trail we located the start of the Via Julia by its name scratched in the rock and an arrow pointing up the easy first pitch. The Via Julia is 4 pitches long and graded 4+, 6a, 5+,5+. Our plan was to pitch out the first two, and then begin simul-climbing and continue all the way to the top!
View looking South to the sea from the beginning of the climb.
The 6a pitch was amazing, very enjoyable climbing on bomber rock. Bring jam gloves if you have them. However, our plan to simul the 5+ pitches did not entirely work, as some of the cruxy bits were maybe a little too stiff for Bron. I ended up banging in a few impromptu anchors as she climbed the harder bits. Half simulling half pitching it out, we made our way to the junction with the Espolón Central in something like an hour and a half. Note: Save some large gear for P3, as I didn’t and had to run it out quite a bit up the widish crack. On handjams it felt secure, but those laybackers out there might not be so lucky.

Bron somewhere on the Espolón Central.
Once we joined the Espolón Central the simulling went smoother and we climbed the rest of the route in two long pitches reaching the optional descent by about 1:30 or 2pm. Those climbers wishing to descend here should keep a sharp eye out, we almost missed the faded “EC” and rightward arrow which is scratched in the rock marking the beginning of the descent.

View of the EC descent with cables and red marker dot very faintly visible.
The Edwards Finish
This marks the beginning of the Edward’s Finish. UKC gives the route 4 “pitches”, but really it’s a long ridge scramble, a bit of climbing, and then another long ridge scramble. We simulled it in one long pitch, taking our ropes off only after the climbing in the middle.

Topo of the EC (#1/2) and EF (#3) from the 2005 Rockfax Guide.
The UKC description is as follows:
175m. Scramble up the broken ridge to a stance below the below the pinnacles that block the way.
F2, 50m. Scramble along the ridge then follow ledges that lead across the face on the left to a stance in a col.
2a) F3, 50m. The col can also be reached by following the ridge till it steepens, step right and climb to the top of the pinnacle. (4). Abseiling from a spike into the gully.F4, 26m. From the col climb the wall behind the huge chockstone for 5m then aim left to the blunt arete to find a stance and thread belays.
F4, 30m. Choose any line (all much the same grade) to the top of the climbing. From here a final 175 m of scrambling gains the notch at the top of the mountain.
Mostly we followed this carefully and found it to be correct; however, I believe there is an error in the description of P3, which I’ll get into below.
P1
We followed this as described leaving our rope on but placing no gear until reaching the pillars.

View of the pillars at the start of P2.
P2
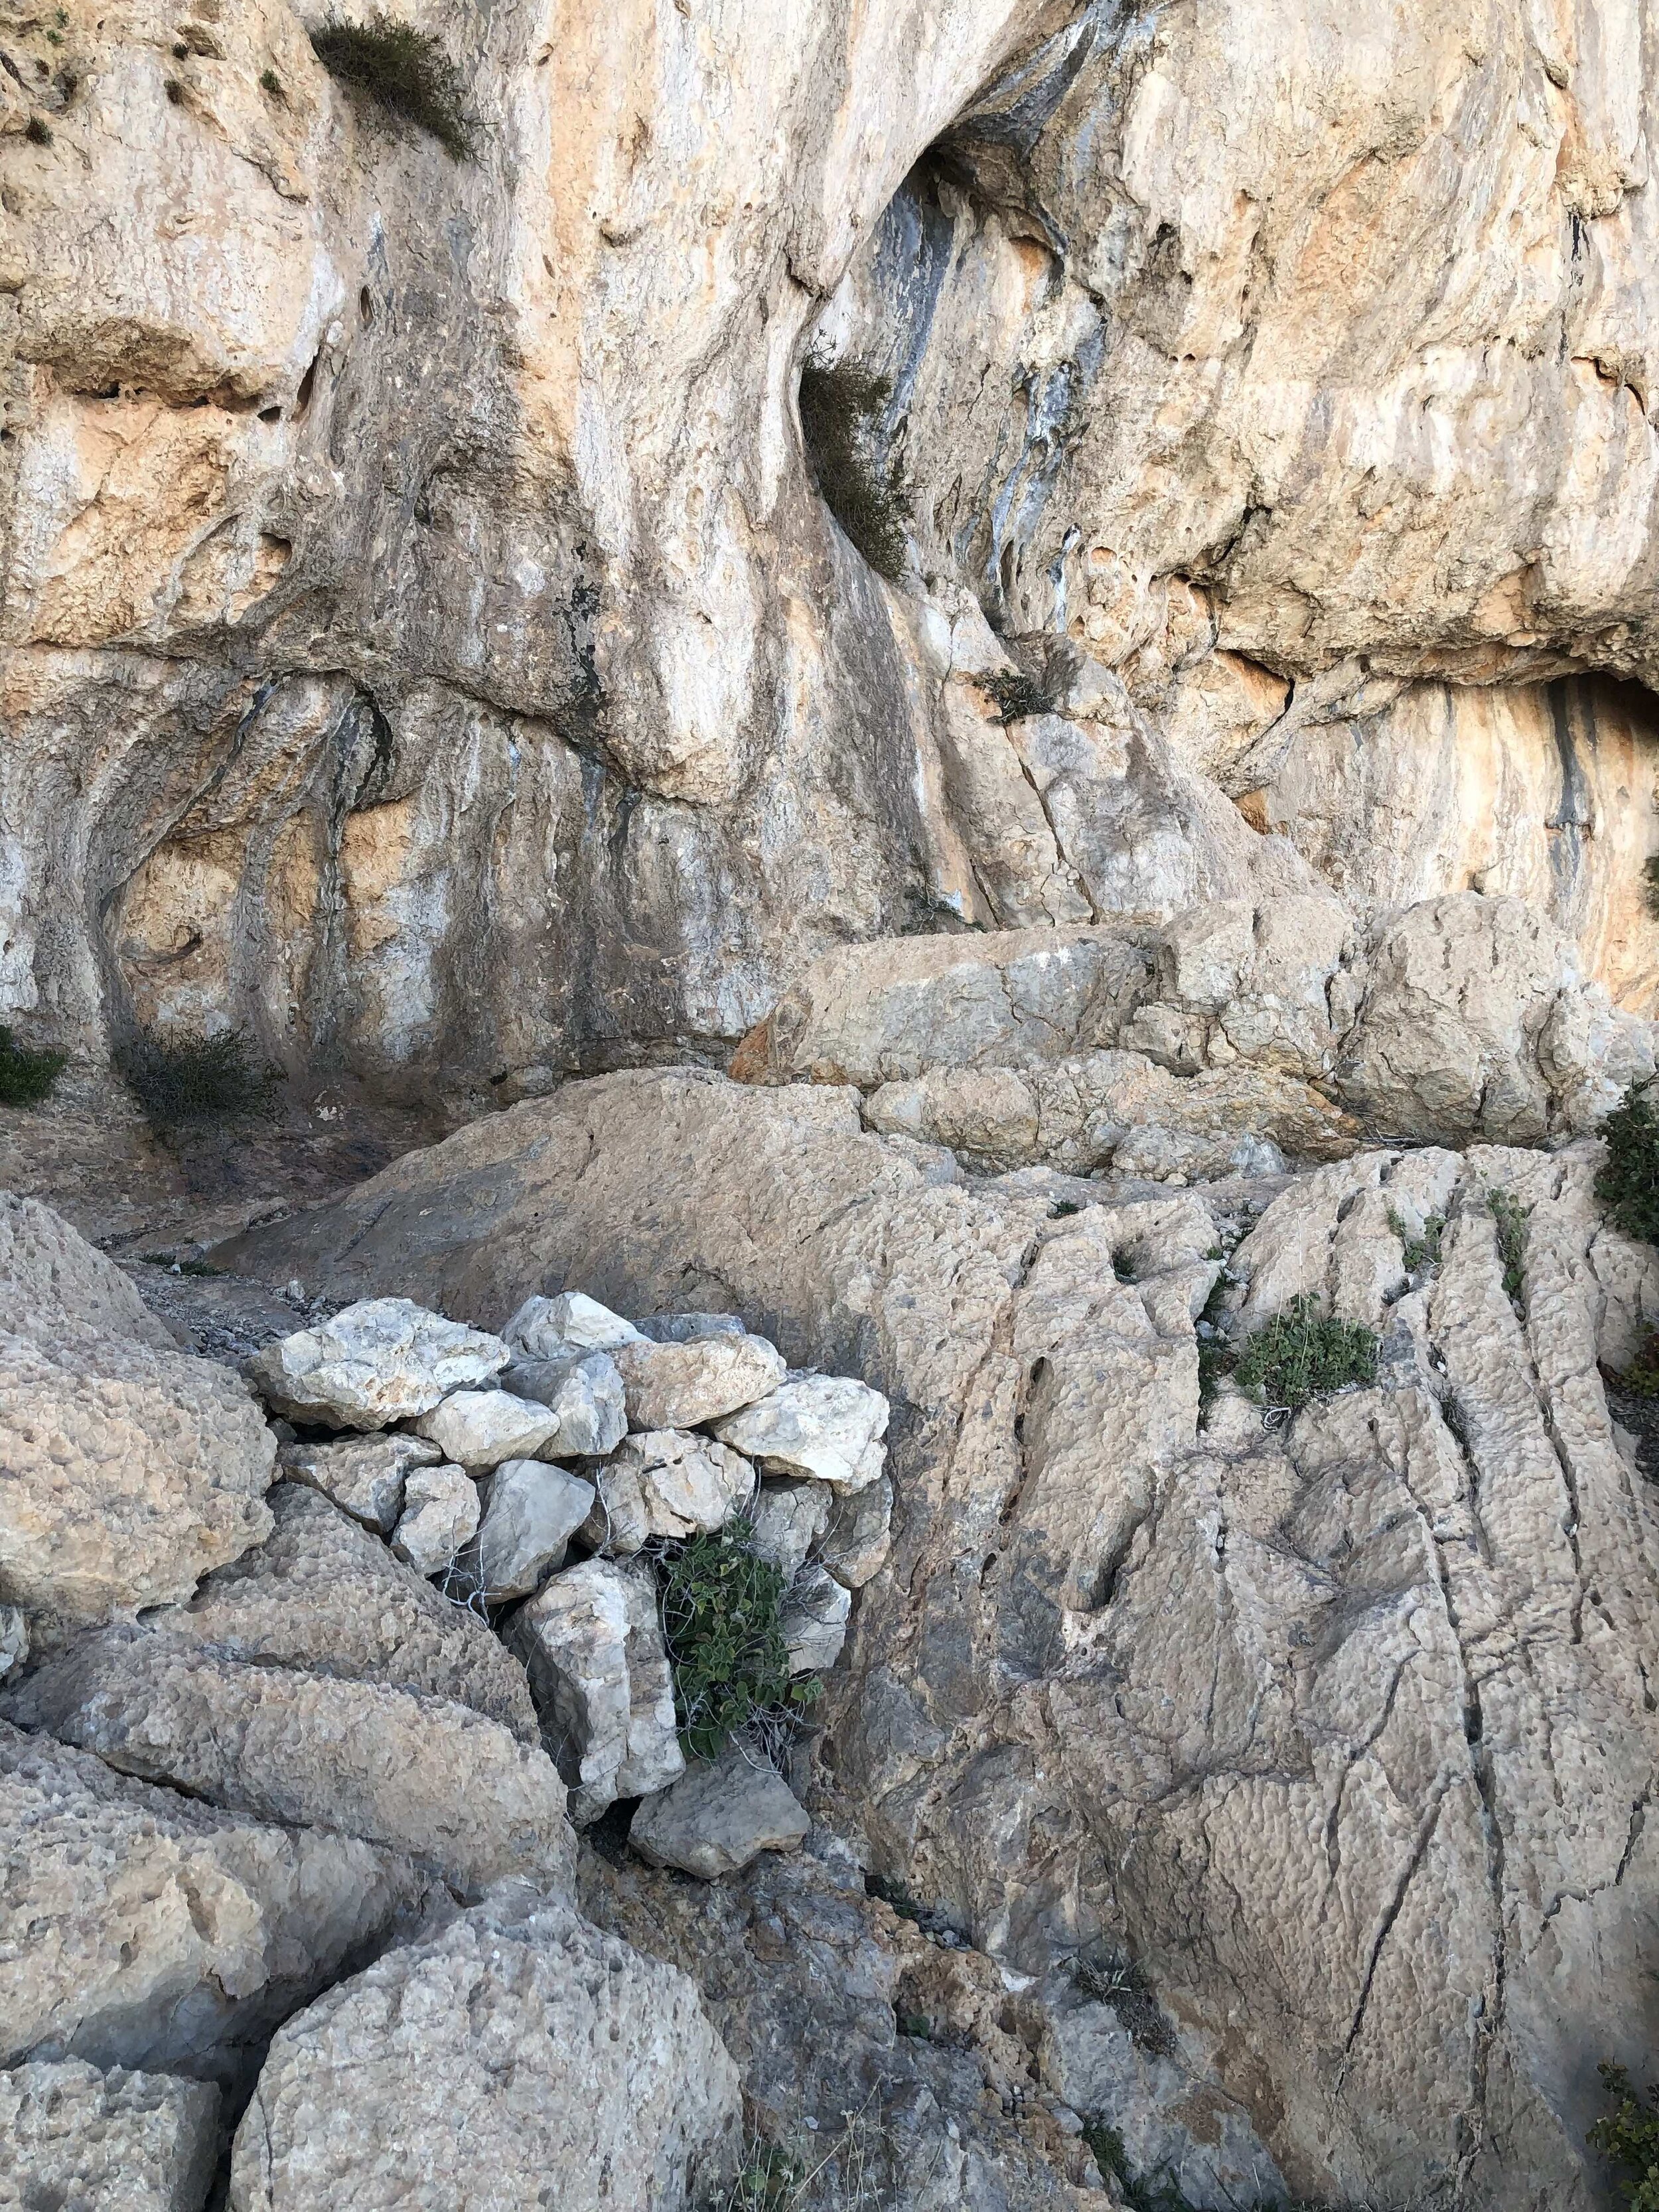
From here we followed the description of P2, traversing around the left of the pillars on some hard to spot but wide and easy ledges. Some climbers have reported scrambling around to the right as well, probably because the ledges look improbable as you approach them. But keeping poking around to the left and you’ll find them. From the ledges, scramble up a loose horrible little gully to reach a notch and chockstone at the start of the two pitches of F4 climbing (#3 and #4).

View of Bron coming up the ample but obscure ledges which lead leftwards around the pinnacles on P2. The beginnings of an incipient inversion can be seen gathering around the shoulders of the Puig.
P3
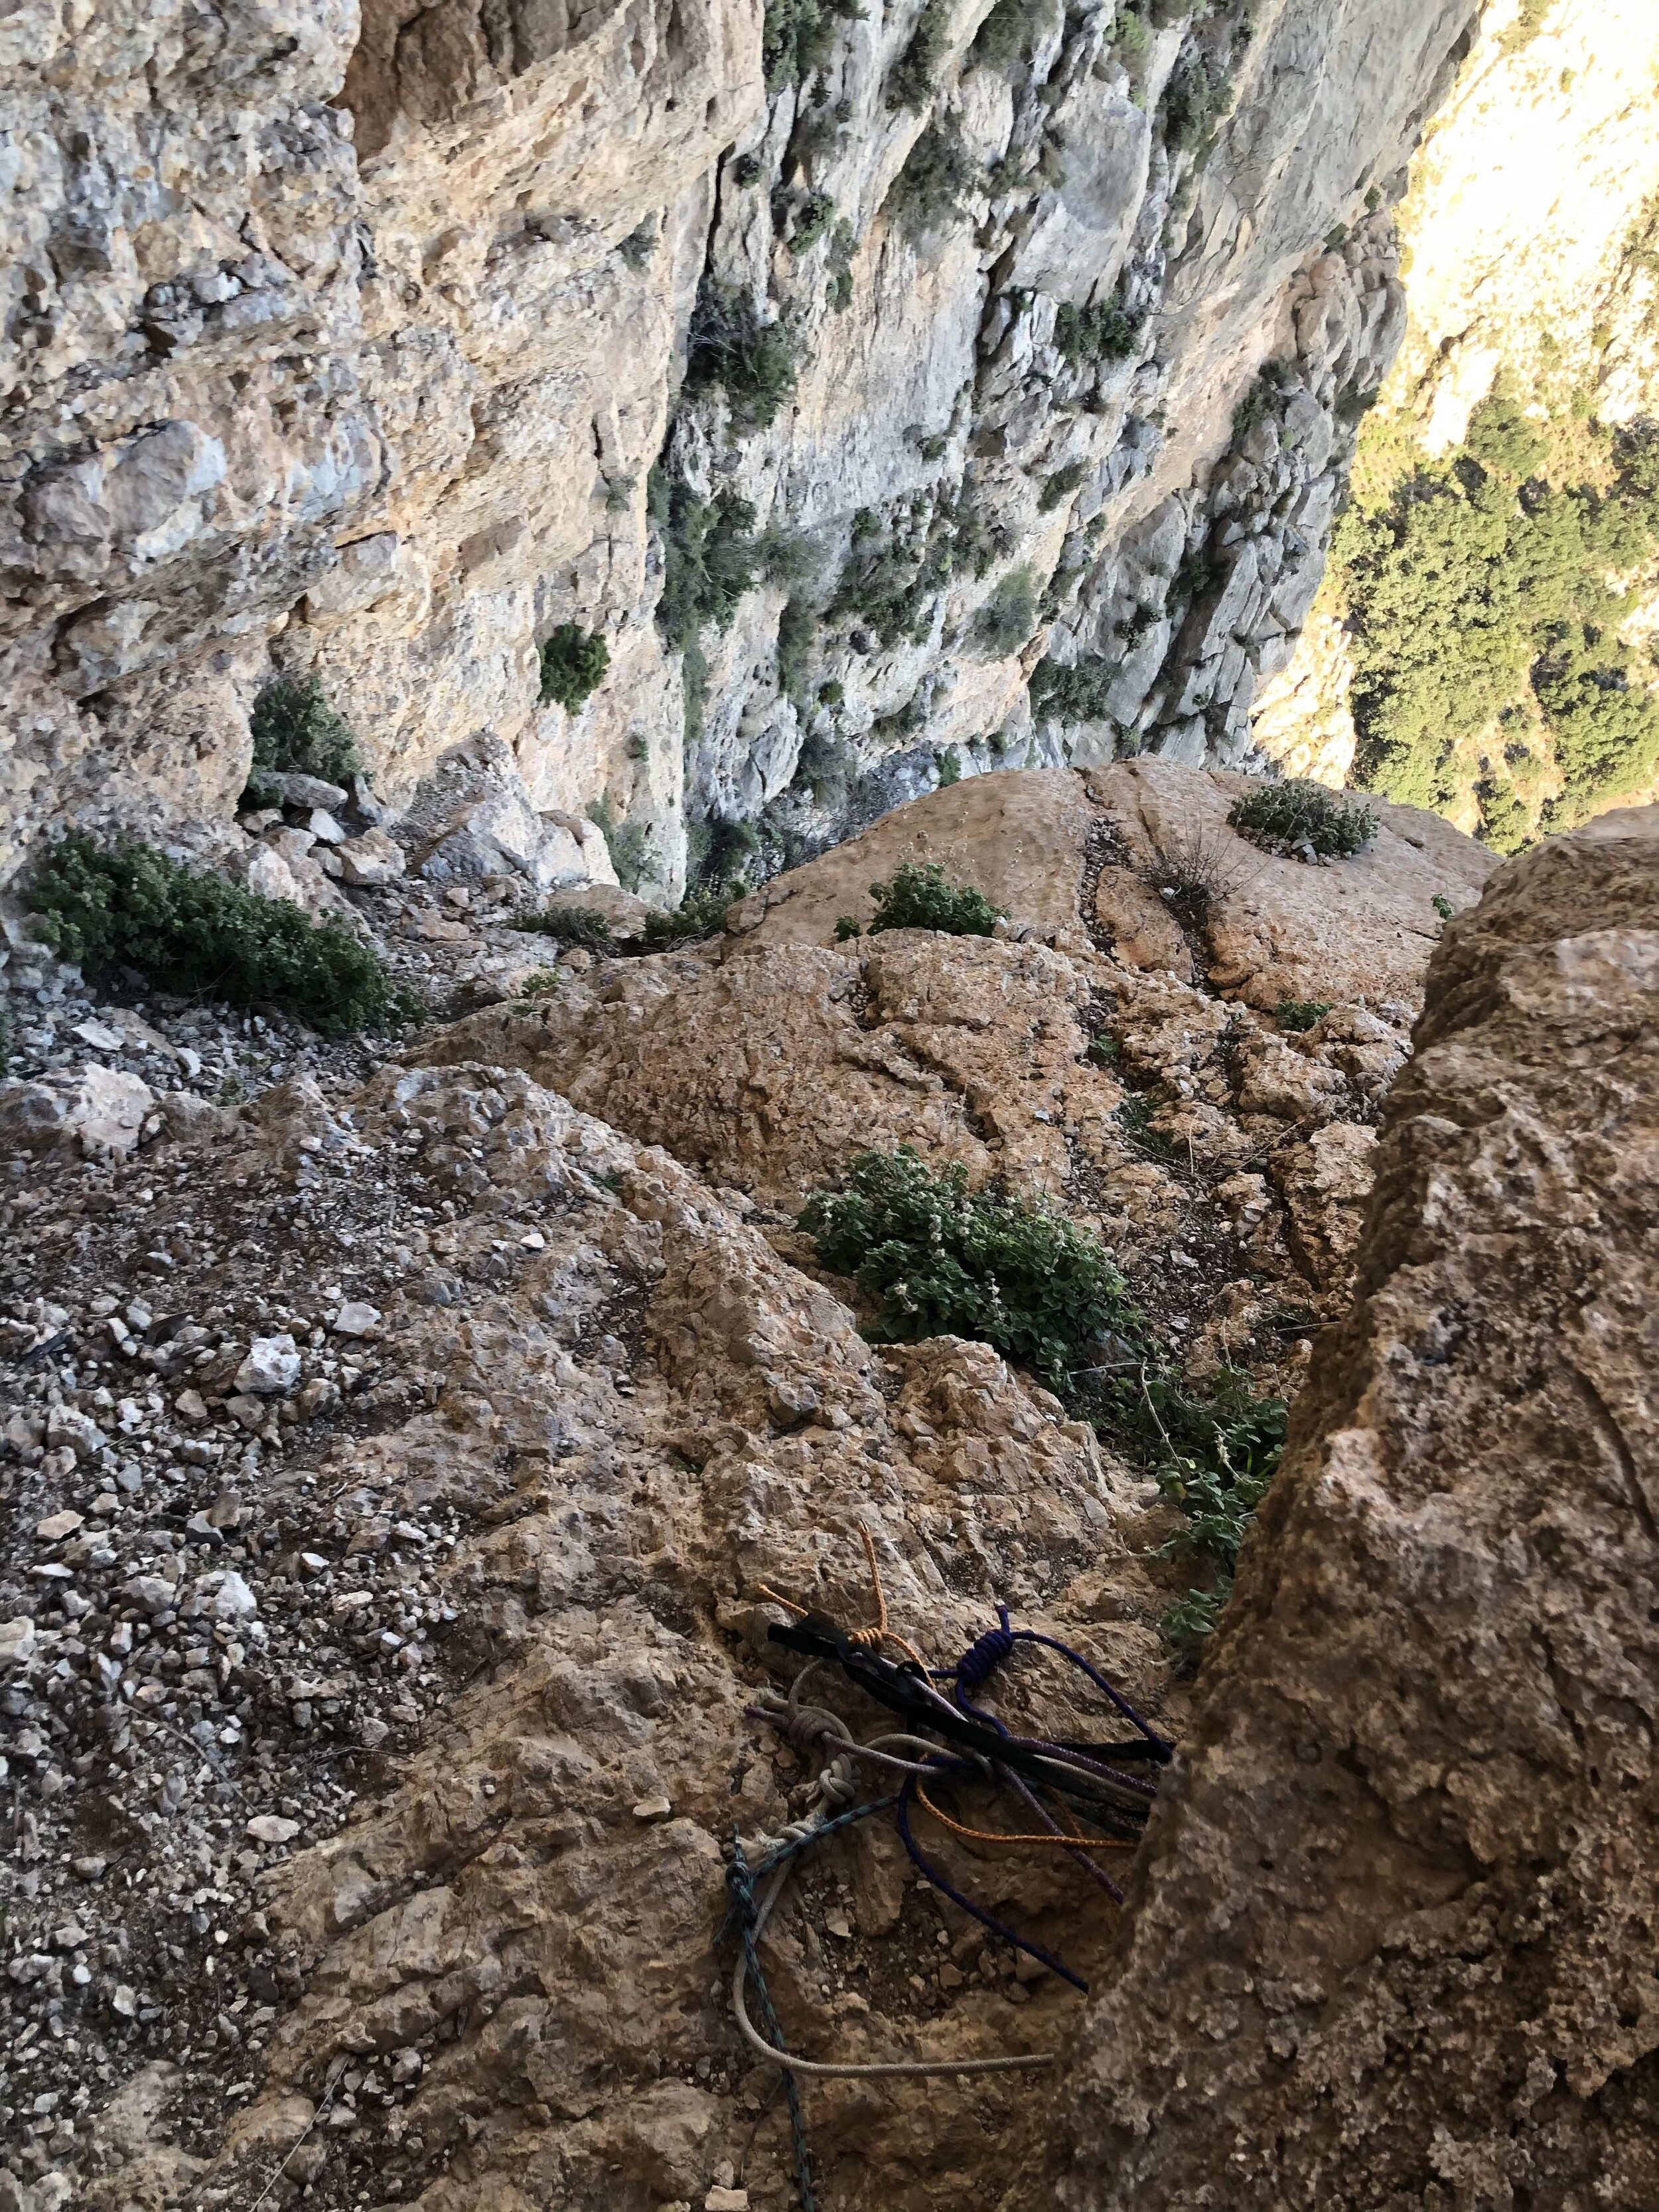
Here the UKC description seems to be wrong. It describes climbing “the wall behind the huge chockstone for 5m then aiming left to the blunt arete to find a stance and thread belays.” We tried to do this and ended up in a very loose and horrible little corner. Once it was too late, I noticed the fixed tat and thread of P3/4 away to our RIGHT, so I believe climbers should head RIGHT, not LEFT once they climb the wall above the notch. Note that this interpretation corresponds to the righwards trending line in the topo of the 2005 guide (above).

View from on top of the chockstone looking up the wall at the beginning of P3. I think climbers should climb this headwall and then look to the RIGHT for fixed tat and slings, NOT LEFT.
However, despite it’s loose and bushy character, the climbing on our off-route line was not difficult (no more than F4) and we simulled it easily.
P4
As described above, there is no distinct line for P4, and the climbing seems to be of uniform character. Just keep going up. Once we finished climbing we reached a dense thicket of oak shrubs which marks the end of the climbing. We took of our rope, traded rock for approach shoes, and continued on along the ridge towards Southeastern summit which marks the end of the Edward’s Finish and the beginning of the descent.

Overview of the Puig Campana, with approach (left) and descent (right) trails, as well as the end of the Edward’s Finish pinned.

Detail view of the top of the Edward’s Finish as well as the “notch” pinned. Note the three distinct summits.
The Descent
The descent is mostly straightforward and involves following cairns and red dots to make one rappel on new bolts (or alternately scrambling down the rappel line protected by via-ferrata cables). I’ll nonetheless describe it here as most UKC descriptions make reference to the 2005 guide description, and the likelihood that climbers have access to that is increasingly slim.

View looking Northeast from the top of the EF, with the true summit of the Puig visible in the background, and “middle” summit visible as the obvious rock pillar in the foreground.
From the top of the Edward’s Finish, begin to descend by making your way back the way you came for a short while before following cairns which loop around to the descenders left and bypass the EF summit to the East, leading the notch formed between the Edward’s Finish and “middle” summit.

View looking back (Southwest) along the EF ridge at the beginning of the descent. Cairns lead down and left from here to a trail which bypasses the EF summit to the Southeast. Inversion is now fully visible.
From the notch walk towards the true Puig summit and look for orange dots and cairns which lead slightly rightwards and down towards the rappel. The notch is a spectacular local and well worth a couple of pictures, but for some reason mine wouldn’t upload!

View of descent markers from the notch with true summit rising in the background.
This is really the only tricky route finding on the descent. The path to the correct rappel takes a line which leads to the descender’s right down the slopes to the East of the middle summit and towards the true summit and a new bolted rappel. However, it appears that many people have missed this and instead stayed left, passing what looks like a bivvy spot, and hugging the walls of the middle summit to a junky rappel station of old tat slung around a boulder. This is not recommended (see pictures).
Old bivvy spot. Walking past this is the WRONG way.
Junky tat rappel. Again, if you’re here, go back. Get on those sweet new bolts!
Instead keep looking right and follow cairns and dots to a new bolt rappel. We had climbed on a single 50m rope with a tagline, but the rap could have been done on a single 50m rope alone (my middle mark got to the ground with a couple of meters to spare). So a single 50m is sufficient for this climb.

View of correct rappel station.

View down correct rappel line with via ferrata cables visible.
From the bottom of the rappel, the descent line cuts across several scree shoots and continues back towards the true summit of the Puig. Given UKC reports of forced rappels down scree slopes, I recommend you stay high and cut laterally across the these scree slopes following dots and cairns rather than turning right and trying to descend directly to the broad descent gully and trail.
We stayed high/left on cairns, and did not have to rappel again. Once the col between the middle and true summits is reached either join the hiker’s trail to ascent the true summit, or, like we did, turn right (South) and begin scrambling down broken trails and scree slopes towards Finestrat. As you descent the trails grow clearer and better all the way home:)
All together car-to-car this took us about 10.5 hrs and was a really enjoyable day and great way to usher in 2020! If anyone finds this useful, please let me know, or certainly if you think I’ve made an error somewhere or you find something to be incorrect let me know and I’ll correct it. Happy climbing all!

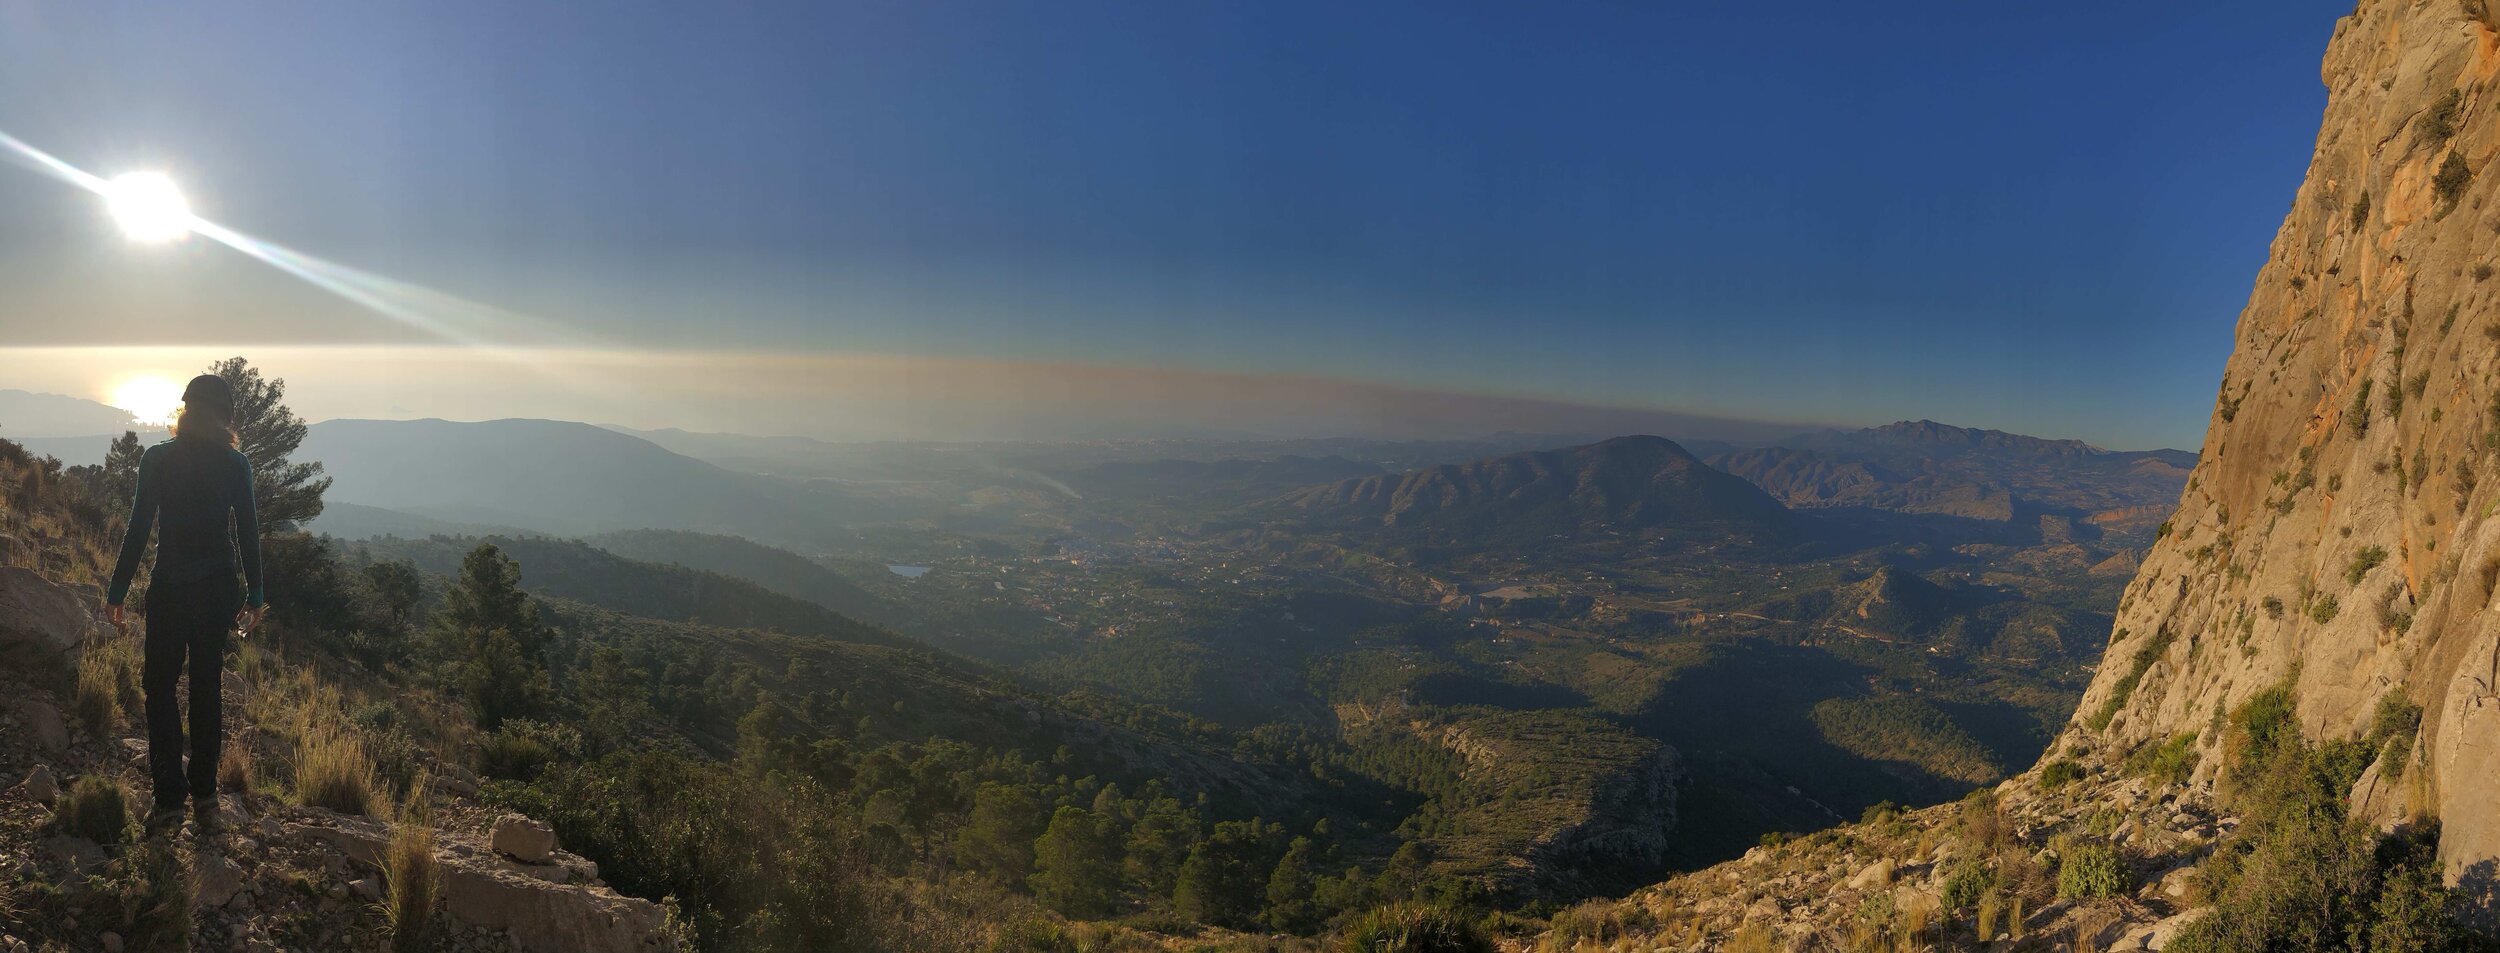
View of the setting sun from the descent trail as we entered the clouds of the inversion.

Goats visible on the ridgeline in the spooky fog of the inversion.